Inquiry
Form loading...

Why Choose CNC Bits for Aluminum?

Aluminum can look easy to machine, yet a poor cutter may leave a rough edge, chatter marks, or packed chips. Cnc Bits For Aluminum are designed around these challenges, with cutting geometry and flute space suited to softer, gummy materials. The right bit helps form cleaner slots and pockets while clearing chips from the cut. Small details matter. A sharp edge, suitable flute count, and stable shank can affect the finish as much as machine settings.

Choosing a bit still depends on the job. Thin sheet, a deep pocket, and a narrow engraving line place different demands on the cutter. Match the bit to the alloy, tool diameter, spindle speed, feed rate, and workholding, then make a cautious test cut. Watch for heat, chip buildup, and vibration. These signs can point to a setup that needs adjustment. No cutter guarantees a perfect result, and a premium bit cannot compensate for a loose workpiece or unsuitable feeds. I still check the edge after use; aluminum can cling to a cutting flute, even when the first pass looks clean. With sound setup and routine inspection, the right CNC bit can make aluminum work more predictable, reduce avoidable rework, and leave a finish that needs less correction.
Why Choose CNC Bits for Aluminum?

CNC Bits and Their Role in Aluminum Machining

Aluminum cuts easily, but it can also cling to a cutter and pack its flutes with chips. CNC bits shape the cut by controlling how each edge enters the metal and how quickly chips leave the cutting zone. That sounds simple. In practice, small changes in tool geometry can affect surface finish, heat, and tool life.

For many aluminum jobs, sharp edges and smooth, open flutes help clear chips before they rub against the workpiece. A two- or three-flute cutter may suit different combinations of material, spindle speed, and feed rate; there is no single choice for every setup. A slot cut in 6061, for example, can behave differently from a shallow profile in a thinner sheet. Chip evacuation matters. Packed chips can leave rough marks or cause the cutter to deflect.

Tool choice is only part of the process. A rigid workholding setup, suitable coolant or air blast, and measured adjustments to feed and speed all influence the result. Follow the cutter’s specifications, then test cautiously on scrap material when conditions differ. A setup may look right on paper and still chatter at the machine. That is worth checking. Inspect the chips and cut surface between passes, and adjust one variable at a time; changing several settings together can make the cause of a problem harder to identify.
How CNC Bits Remove Material from Aluminum

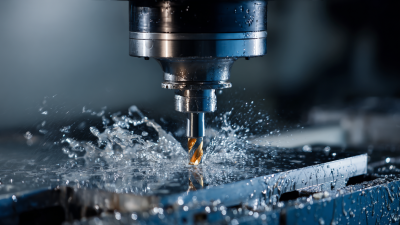
A CNC bit removes aluminum by shearing thin layers from the workpiece. Its sharp cutting edge enters the metal, while the flute carries each chip away. A two-flute bit leaves more space for chip evacuation; this matters in deep slots, where packed chips can cause heat and a rough finish. Aluminum’s low density does not make it soft. The Aluminum Association’s Aluminum Design Manual lists its density at about 2,700 kg/m³. The cutting edge still needs to stay sharp and move decisively, rather than rub against the surface.

Feed rate, spindle speed, and chip load work together. If the feed is too slow, the edge may rub and heat the aluminum. If it is too fast, the bit may deflect or leave chatter marks. Listen for a steady cutting sound, and check whether chips leave the slot freely. Long, sticky chips can signal poor evacuation. It is easy to blame the bit, though setup and workholding may be the real problem.

Tips: Use a polished, sharp bit and clear chips from deep cuts. A small test pass helps. Check the finish and listen for chatter before increasing cutting depth.

Key Features of Bits Designed for Aluminum

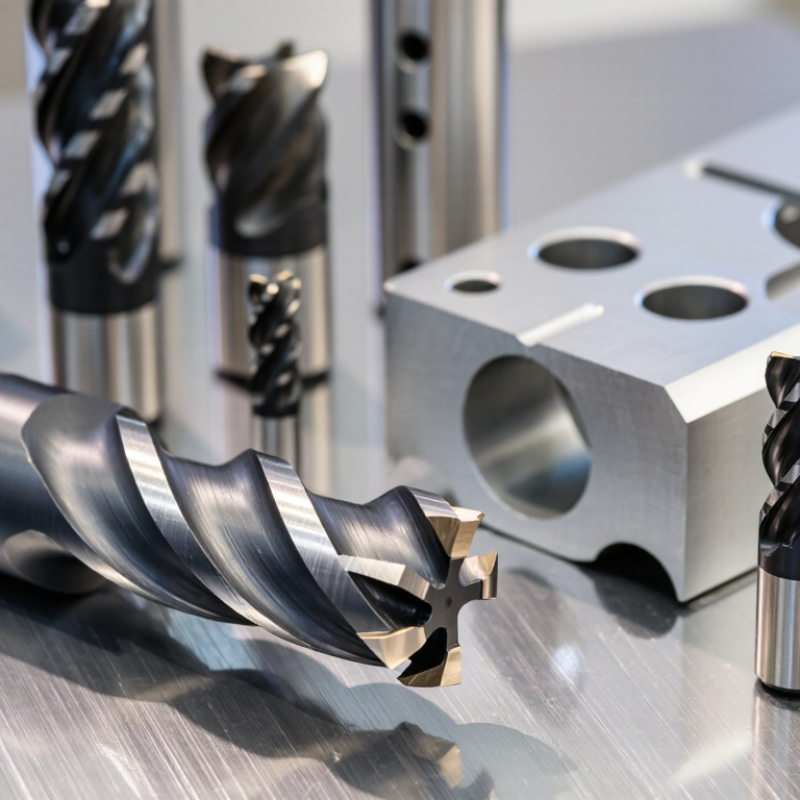
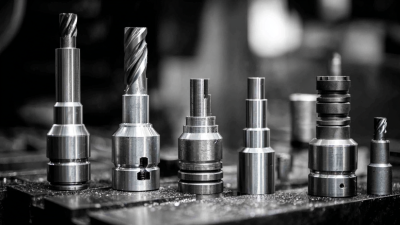
Key features of bits designed for aluminum begin with sharp cutting edges and polished flutes. These help shear soft material cleanly and move chips away before they weld to the edge. A high-helix design can improve chip evacuation, while a one- or two-flute cutter leaves more room for chips. The right choice depends on the machine, alloy, and cut.

ASM International’s ASM Handbook, Volume 2, lists pure aluminum’s thermal conductivity at about 237 W/m·K near room temperature; common alloys vary. Heat moves readily through the workpiece, but poor chip removal can still cause built-up edge and a rough finish. Polished, generously sized flutes and a short, rigid tool help manage that risk. Still, no geometry is perfect: thin panels may chatter, even with a suitable bit.

Tips: Keep the cutting edge clean, use air or coolant suited to the setup, and inspect chips during the first pass. Long, curled chips can signal poor evacuation. A small test cut is worthwhile. Feed and speed matter too, and the maker’s starting values may need adjustment for your machine and workholding.

Why Choose CNC Bits for Aluminum? — Key Features of Bits Designed for Aluminum

Feature Common Design or Range Why It Matters for Aluminum Selection Notes
Cutting-edge material Solid carbide is widely used; high-speed steel is also used for some lower-speed or general-purpose applications. Carbide’s hardness and wear resistance support higher cutting speeds and help retain a sharp edge. Choose the tool material to suit the machine, workpiece, setup rigidity, and operating conditions.
Flute count One- and two-flute designs are common for aluminum; three-flute designs are available for suitable setups. Fewer flutes leave more space for chips, which can help reduce chip packing in soft, gummy material. Match flute count to chip load, tool diameter, machine capability, and the amount of material being removed.
Flute geometry Polished flutes and sharp, positive-rake cutting edges are common features. Smoother chip flow and a clean cutting edge can help limit built-up material on the tool. Use a purpose-designed aluminum geometry rather than assuming every general-purpose end mill will perform the same way.
Helix angle Many aluminum end mills use a medium-to-high helix, often around 35°–45°. A higher helix can promote smoother cutting and help move chips upward and out of the cut. Higher helix angles can increase axial cutting forces; consider workholding and part rigidity.
Tool coating Polished, uncoated carbide is common. Aluminum-compatible coatings, such as zirconium nitride, are also available. A suitable low-adhesion surface may help reduce aluminum sticking to the cutting edge. Check the coating’s intended material and application. A coating is not a substitute for correct geometry or chip evacuation.
Chip evacuation Open flute space, appropriate tool reach, and effective air or coolant delivery. Removing chips helps prevent recutting, which can damage the finish and increase heat or tool wear. Clear chips from pockets and deep cuts; use coolant or air only when suitable for the machine and process.
Tool reach and flute length Use the shortest practical cutting length and overall tool reach for the job. A shorter, more rigid setup is generally less prone to deflection and vibration. Provide enough flute length for the cut, but avoid unnecessary stick-out.
Cutting data Speed and feed depend on tool diameter, flute count, alloy, machine, and cut type. Suitable chip load helps avoid rubbing, excessive heat, and overloaded cutting edges. Start with the cutter maker’s recommended data, then adjust cautiously for the specific setup. Do not use one feed rate for every tool or alloy.
Workpiece and operation Common applications include machining aluminum alloys such as 6061, with tool choice adjusted for the operation. Slotting, profiling, and pocketing place different demands on chip space and tool engagement. Consider alloy, cut depth, radial engagement, workholding, and required surface finish when selecting a bit.

Benefits of Using CNC Bits for Aluminum

Why Choose CNC Bits for Aluminum?

Benefits of Using CNC Bits for Aluminum

CNC bits suited to aluminum can help produce cleaner edges and more consistent cuts. Their sharp cutting geometry shears the metal rather than pushing it aside. That matters. Less cutting pressure can reduce burrs and help protect thin parts from lifting when workholding is adequate.

Flute design also affects chip removal. Aluminum chips can cling to a cutting edge, then get cut again and leave rough marks. A bit with suitable flute space can clear chips from a narrow slot more effectively. Use air or coolant only when appropriate for the machine and setup. Keep chips from piling up around the tool. Small details count.

A proper bit is not a substitute for correct feeds, speeds, and secure clamping. Start with conservative settings recommended for the tool, then inspect the chips and cut surface. Bright, even chips can be a useful clue, while smearing or sudden noise may signal trouble. It is tempting to blame the bit first, but runout, tool wear, and poor chip clearance can cause similar problems. Results vary. Check the setup before changing several variables at once.

Choosing a CNC Bit for an Aluminum Project

Choosing a CNC bit for aluminum starts with the alloy, cut depth, and machine rigidity. ASM Handbook, Volume 2, lists pure aluminum at about 2.70 g/cm³, with thermal conductivity near 237 W/m·K. Alloy values differ, but heat can move quickly through the workpiece. Use a sharp, polished carbide bit with generous flute space to clear chips. One flute often suits soft aluminum and deep pockets; two flutes can improve finish when the machine maintains chip clearance. Chips must escape.

Match the bit to the job. For a thin panel, reduce engagement and clamp close to the cut to limit vibration. For a slot, avoid burying the full cutter diameter unless the toolpath and chip evacuation support it. Keep feed and spindle speed within the cutter maker’s stated range, then check the actual chips: long, clean curls usually indicate better cutting than powder or smeared edges. That clue is useful, not definitive. A setup that works on one alloy may rub or chatter on another. Test on scrap, inspect the edge, and adjust one setting at a time.